
1. Why Professional Quotes for Turning Door Repairs are Overpriced
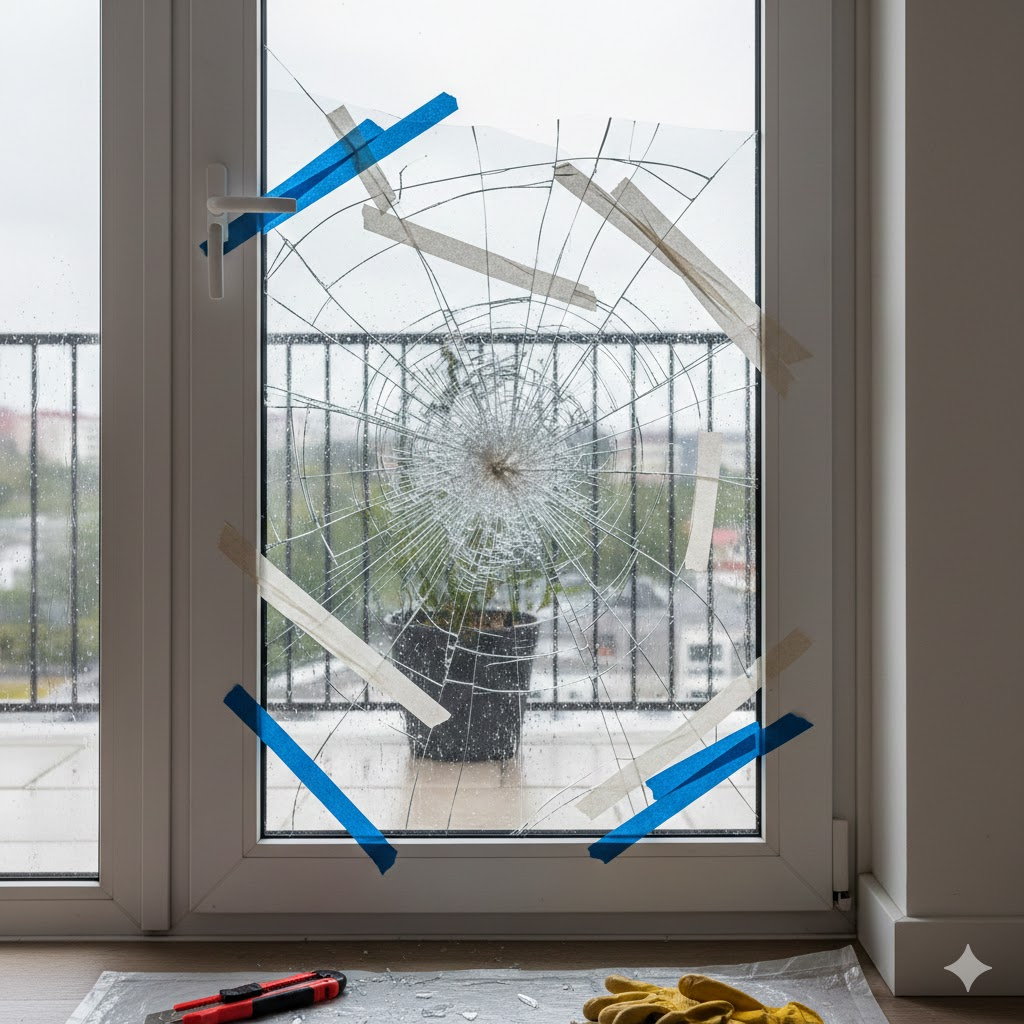
When you spot a crack in your heavy-duty turning door, the initial reaction is often dread. You call a contractor, and the quote hits you: $300 to $500 for a single pane replacement. However, most of that cost isn’t for the material; it’s the labor and logistics.
As a seasoned DIYer based in Incheon, I recently tackled a broken turning door glass myself. I found that the entire process costs less than $150 and takes under an hour if you follow a logical workflow. This isn’t just about saving money; it’s about taking control of your home maintenance with professional-grade results.
The glass used in these doors is typically Insulated Glass Units (IGUs), also known as “Pair Glass.” These are designed for thermal efficiency, meaning even a hairline crack compromises the insulation gas inside. Therefore, a full unit replacement is mandatory. Whether it’s from accidental impact or thermal shock due to temperature extremes, replacing it yourself is the most efficient solution.
2. Identifying the Right Glass: Specifications and Privacy
Before placing an order, you must identify what you currently have. Not all glass is created equal, especially when it comes to thickness and transparency.
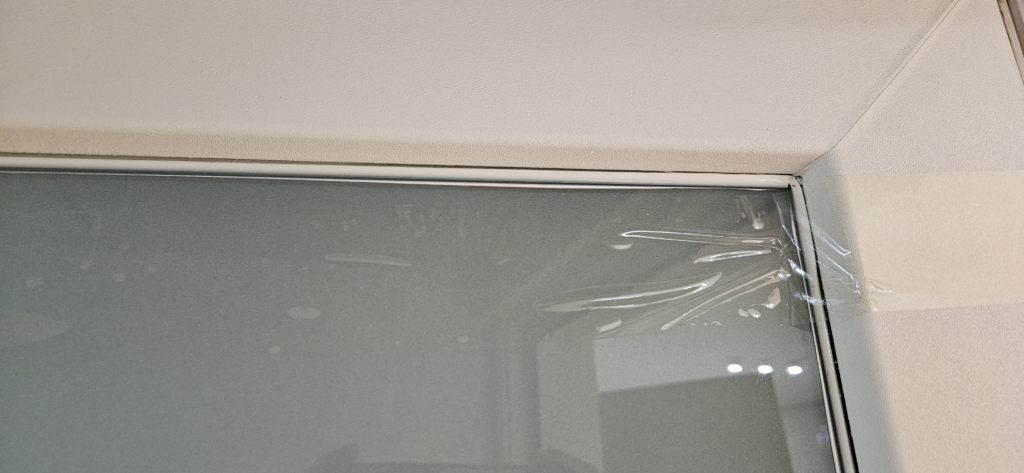
- Standard Pair Glass: Two layers of glass separated by an aluminum spacer. Common thicknesses are 22mm or 24mm.
- Privacy Options: If your door leads to a laundry area or a cluttered balcony, you’ll want privacy. Ask the supplier for “One-side Frosted” or “Mist Glass.”
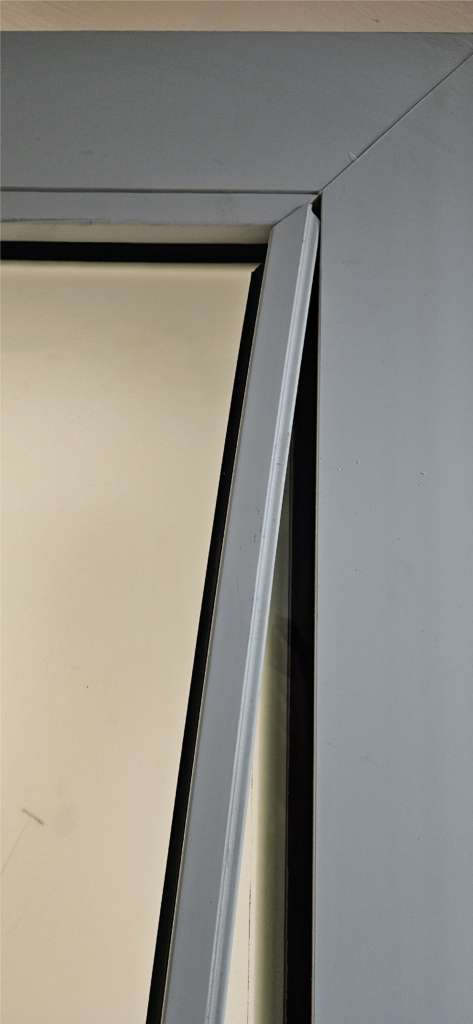
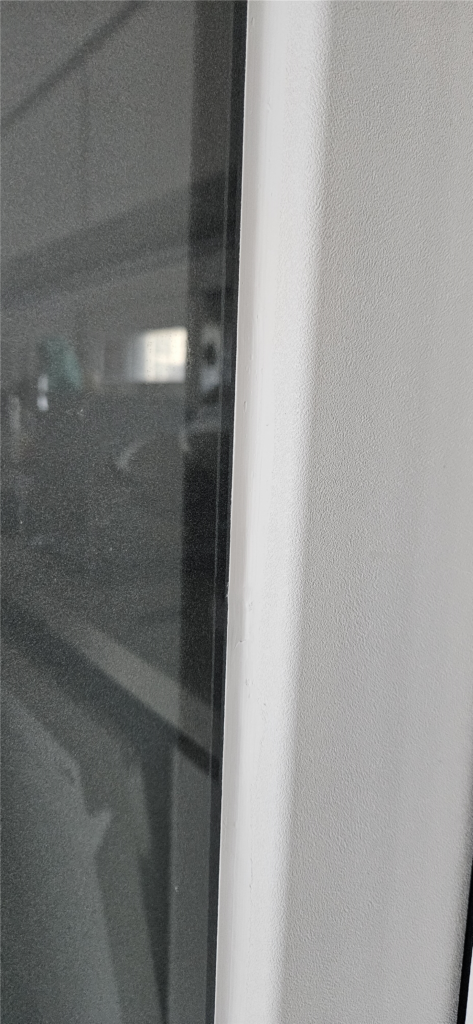
One critical mistake many beginners make is forgetting the thickness. If your frame is built for 22mm and you order 24mm, the glazing beads simply won’t snap back in. Always measure the side profile or check the markings on the spacer inside the glass unit.
[DIY Turning Door Repair Checklist]
| Item | Purpose | Pro Tip |
| Grip Gloves | Safety and handling heavy glass | Choose rubber-coated for maximum grip |
| Plastic Spatula/Hera | Removing glazing beads | Avoid metal if you want to prevent scratches |
| Utility Knife | Cutting through old silicone | Use a fresh, sharp blade |
| Masking Tape | Achieving clean caulk lines | Essential for the “pro-look” finish |
| Dish Soap Solution | Smoothing out the silicone | Mix 1 part soap to 10 parts water |
| Waste Sticker | Proper disposal of old glass | Contact your local waste management office |
3. The Art of Measurement: Removing the Unit Safely
Accuracy is the cornerstone of SEO and DIY alike. To get the perfect fit, you need to measure the glass unit while it’s out of the frame—or at least loosened.
Step 1: Prying the Beads. Turning doors are held by plastic glazing beads on the interior side. Insert your spatula into the seam and gently pop them out. Once all four are removed, the glass will be held only by the silicone on the exterior side.
Step 2: Cutting the Silicone. Use your utility knife to cut the seal between the glass and the exterior frame. At this point, the glass will become “loose.” Caution: Always have someone hold the glass or lean it securely, as a 15kg unit falling can be disastrous.
Step 3: Precision Real-world Data. My specific unit measured 1890x610x22mm. If your glass is already shattered or badly cracked, apply duct tape across the surface to keep it structural during removal.
4. Strategic Sourcing: Finding a Local Supplier
Don’t search on massive e-commerce platforms. For glass, local is better and cheaper. Search for “Glass shop + [Your Neighborhood]” on Google or local maps.
I contacted several shops in Songdo and asked, “Do you supply turning door glass units for DIY pickup?” While many prefer to do the whole job for a premium, several are happy to sell just the material. I paid 150,000 KRW for the glass and 10,000 KRW for delivery. Total: 160,000 KRW (approx. $125).
When the glass arrives, verify the dimensions immediately. A minor discrepancy of 2-3mm is usually fine because the door frames have internal tolerances, but anything more might require a return.

5. Finishing Like a Pro: Silicone and Stability
Now for the final touch. Placing the glass is easy; making it look professional is where the magic happens.
Centering and Spacing: Place the new glass unit into the frame. If it’s wobbling or tilted, use small rubber spacers at the bottom to level it. Once balanced, snap the glazing beads back into place. You should hear a satisfying ‘click’.
The Finger Trick for Silicone: Most DIYers struggle with caulking. Here is my 15-year expert secret: Apply masking tape to both the frame and the glass, leaving a 5mm gap. Run your silicone bead, then dip your finger into the dish soap water and smooth it over in one continuous motion. Peel the tape off immediately, and you’ll have a razor-sharp line that looks like it was done by a 30-year veteran.

In conclusion, I spent 185,000 KRW total and saved 165,000 KRW compared to the lowest contractor quote. The task took less than an hour of actual labor. If you’re in the Songdo area and need a reliable supplier recommendation, drop a comment below!